
On this week's episode of Craftsman's corner from the NMLRA, we’re going to show you how to make a simple powder horn for your muzzleloading gear


There are a variety of ways to make a powder horn, and the methods described in this video aren’t the best or only way to do it. This is meant to serve as an introduction to making a powder horn and give you a guide to making a powder horn with the tools you may already have laying around.
For more information on making a powderhorn, visit the Honourable Company of Horners at Hornguild.org
Supplies you’ll need
A horn
Some inspiration for your horn from books or the internet
A piece of wood for your horn plug and spout.
Tools you’ll need:
Rasp
Course to fine files
Cabinet scrapers, scrapers with curves if you can find them
A knife
Hacksaw
Eboxy
Small nails for pins
A small Hammer
¼” drill bit
Small electric drill
Painters Tape
A pencil
Flexible wire/coat hanger
Ruler
400 and 600 grit sandpaper
When starting this project I asked around about a good book on getting started and the only widely available book is Scott and Cathy Sibley’s, “Recreating the 18th Century Powder Horn”. It is out of print now, but there are plenty of used and new old copies around online.
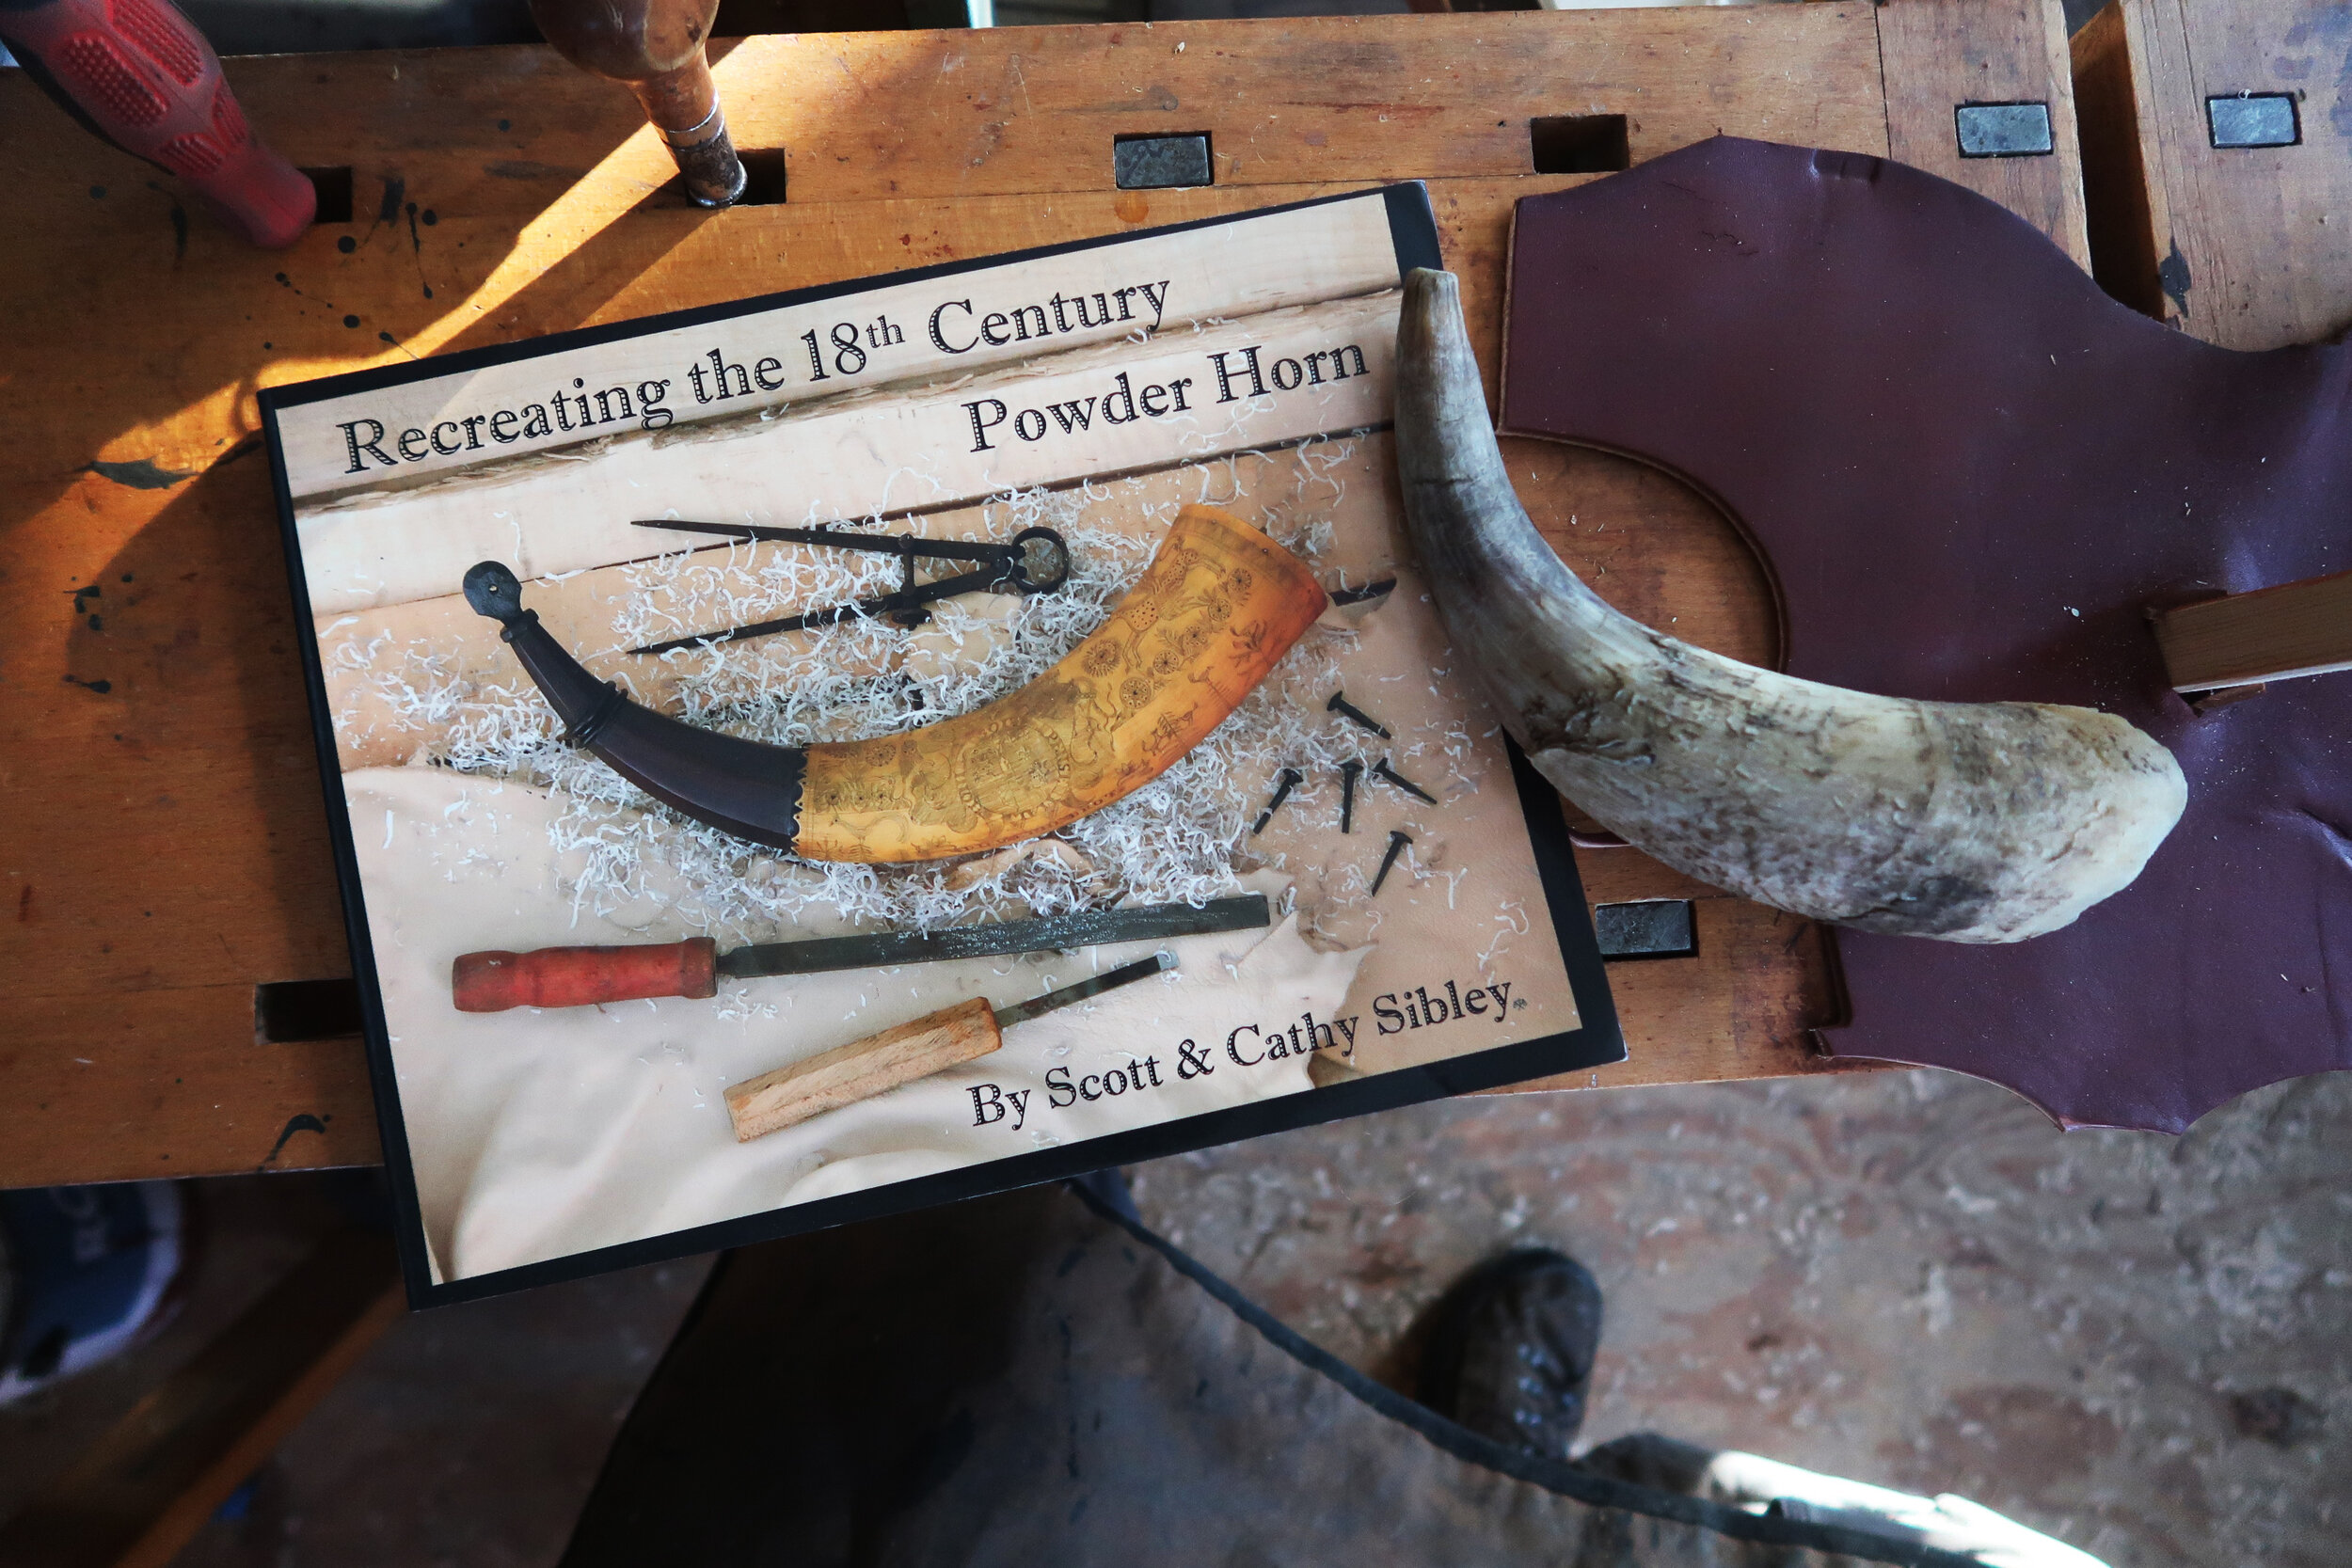
While the book leaves several things out, it is plenty to get started with on your first horn. We won’t be following the book for this video, but it serves as an affordable way to get familiar with horn.
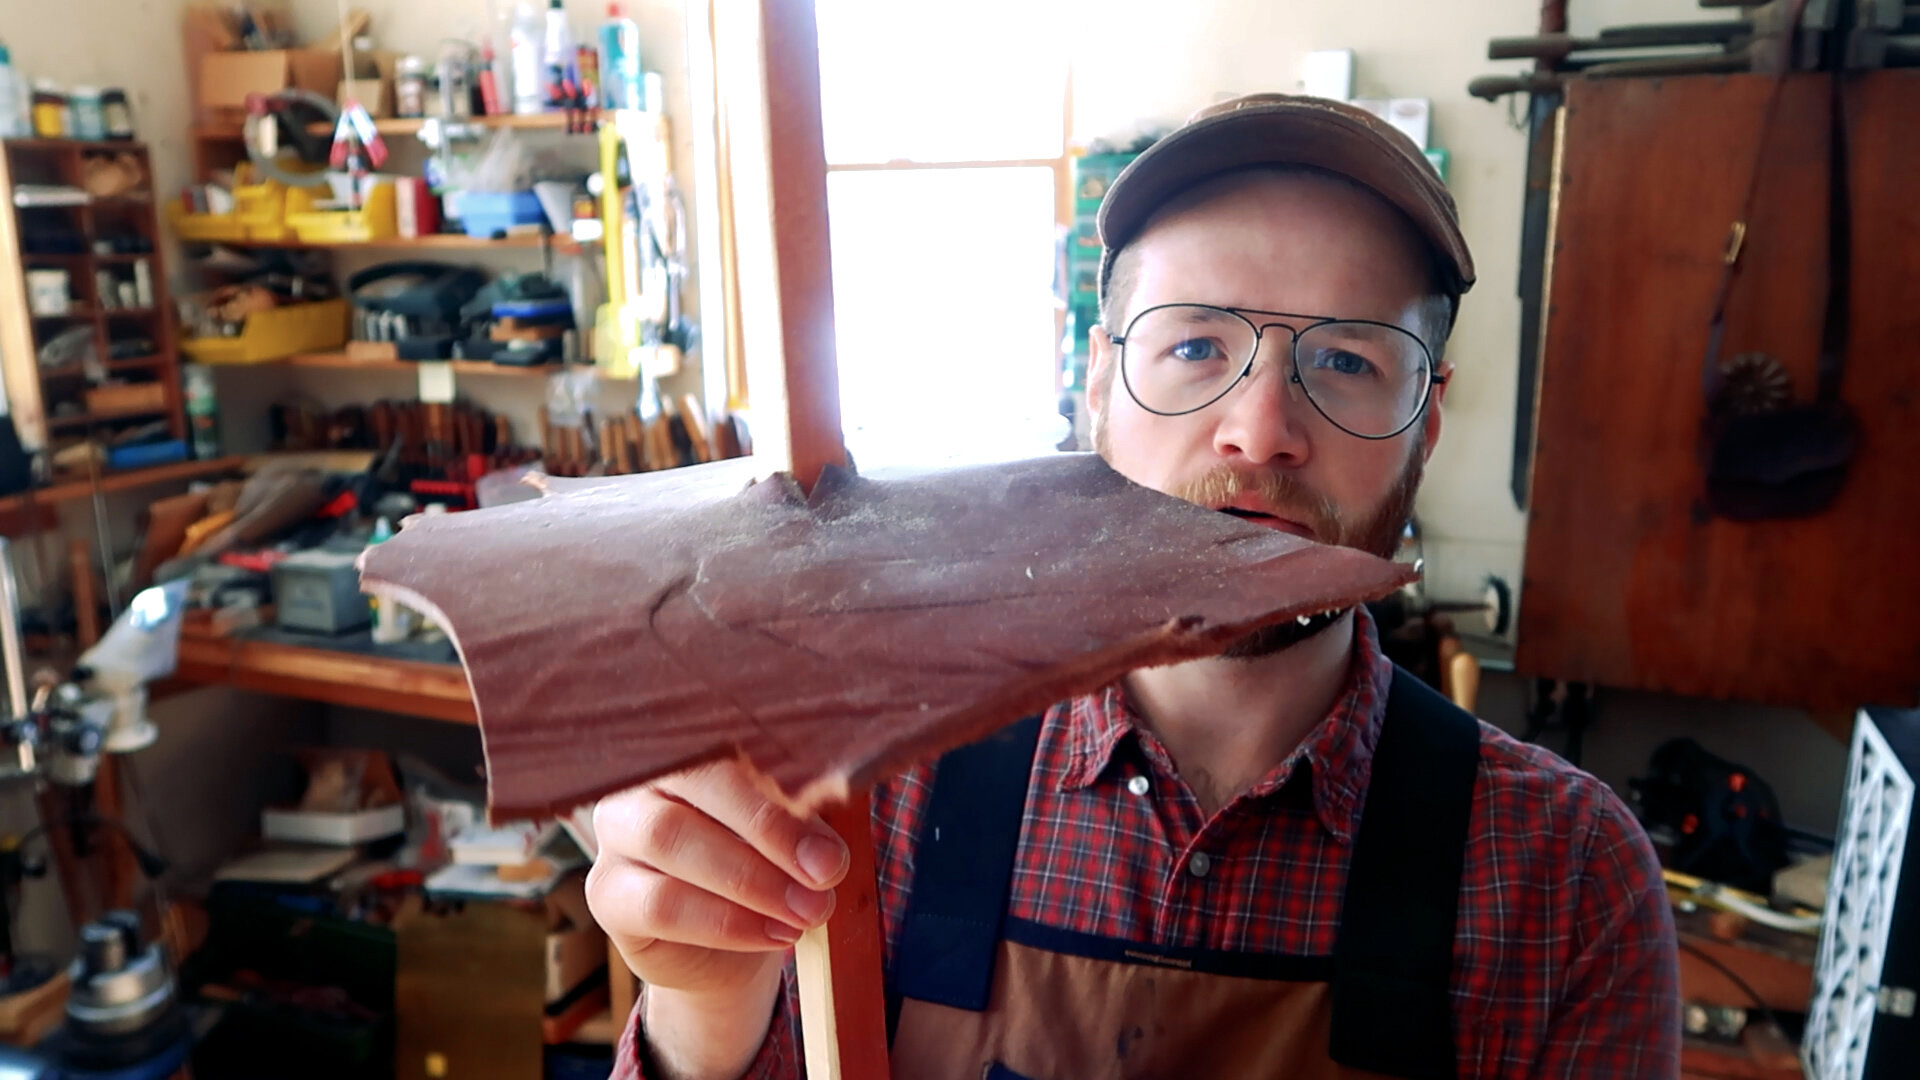
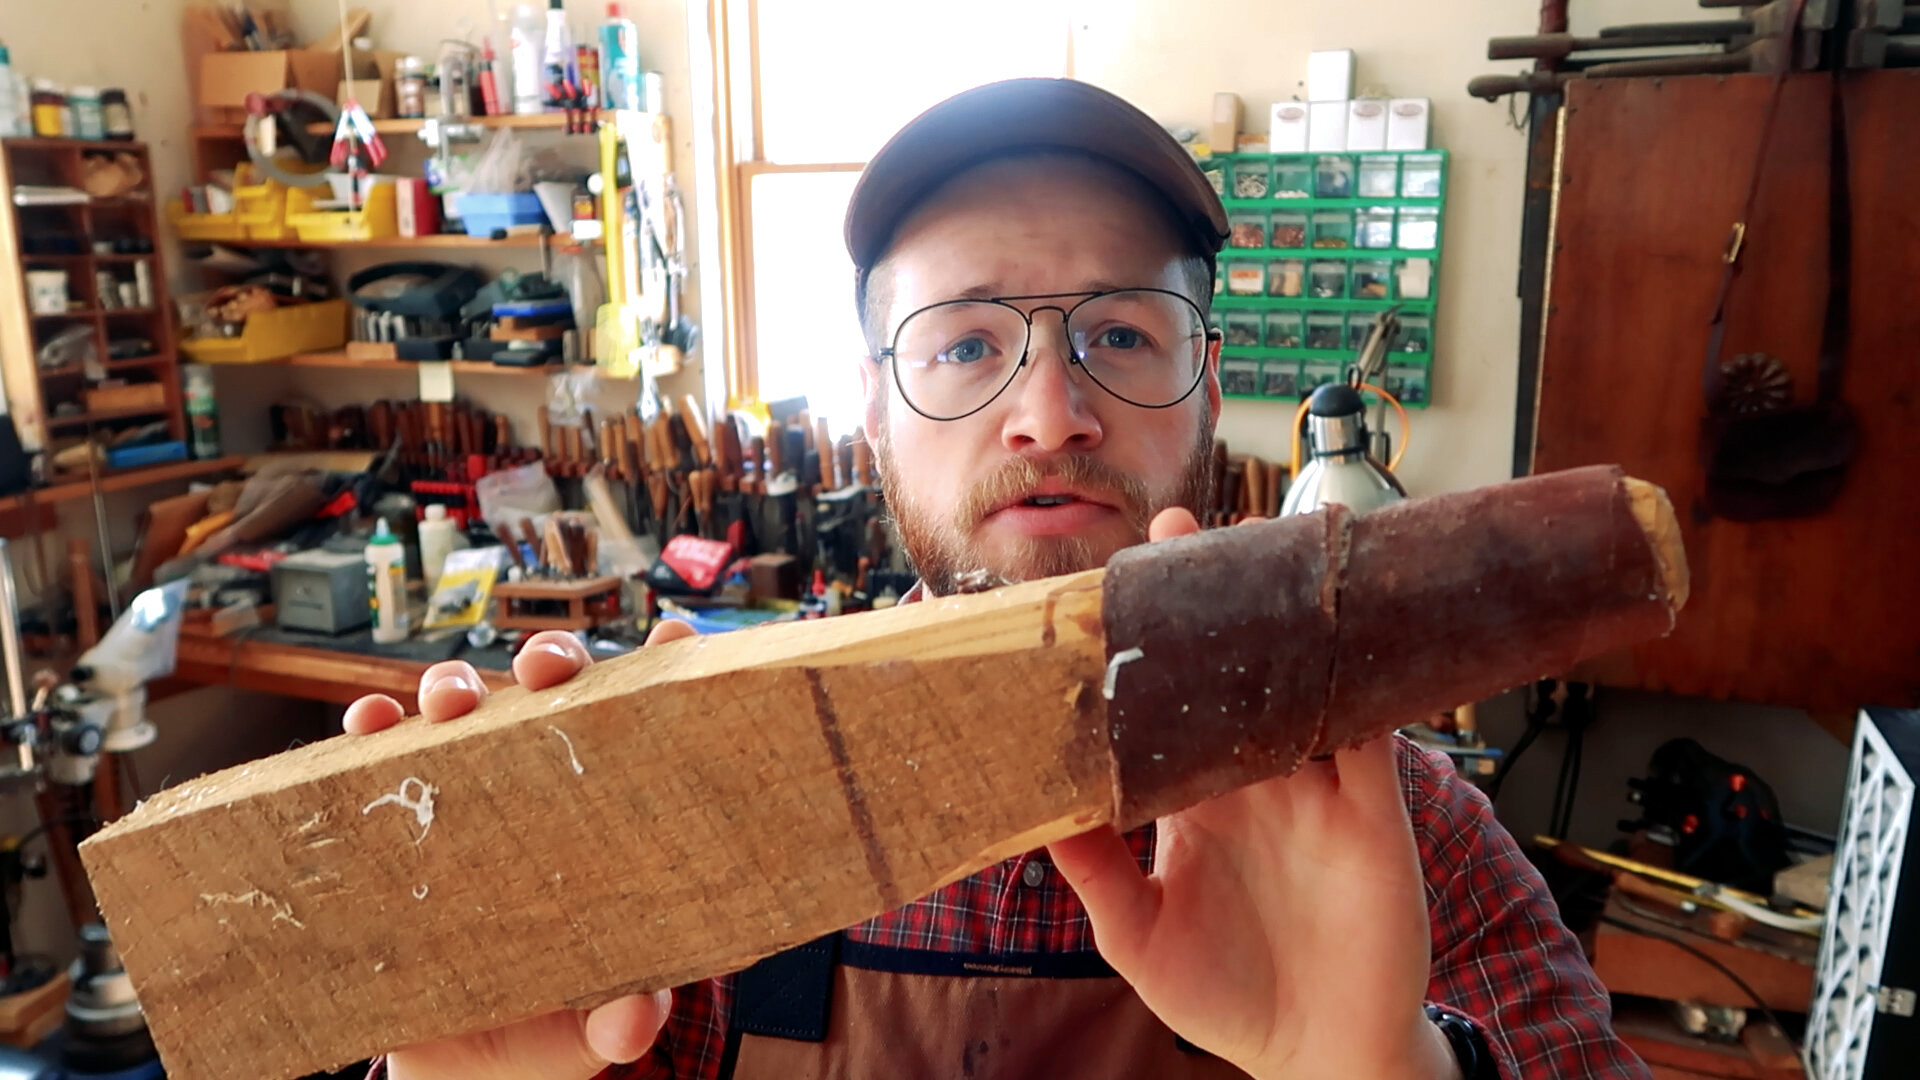
When preparing your workspace, there are two additions to your bench that you can make to make working your horn easier. The first is a wooden rod with a heavy leather hide around it. We’re going to mount this rod vertically in our vice, with the leather resting flat on the bench around the rod, giving us a post to push the horn against as we work. The second tool is a 2x4” board, about 2’ long that I’ve tapered down and have added some leather too. This allows us to place the horn on the shaped end with the leather, turing the board into a simple pressure vice to hold the horn.
You don’t need to start with a rough horn like we are, there are several vendors out there that supply an already cleaned horn if you’d like to save yourself some work. To clean the horn, I start with a rough rasp and begin removing the dirty parts of the horn. With the flakes and the dirty areas removed, I switch to a rough file to get rid of any of the rasp grooves. Be mindful of how much material you are removing, you don’t want to go through your horn, but you want it to be thin and light. I filed on the horn until the rasp grooves were gone and continued to file until I had streamlined the overall shape of the horn before moving onto my cabinet scraper.


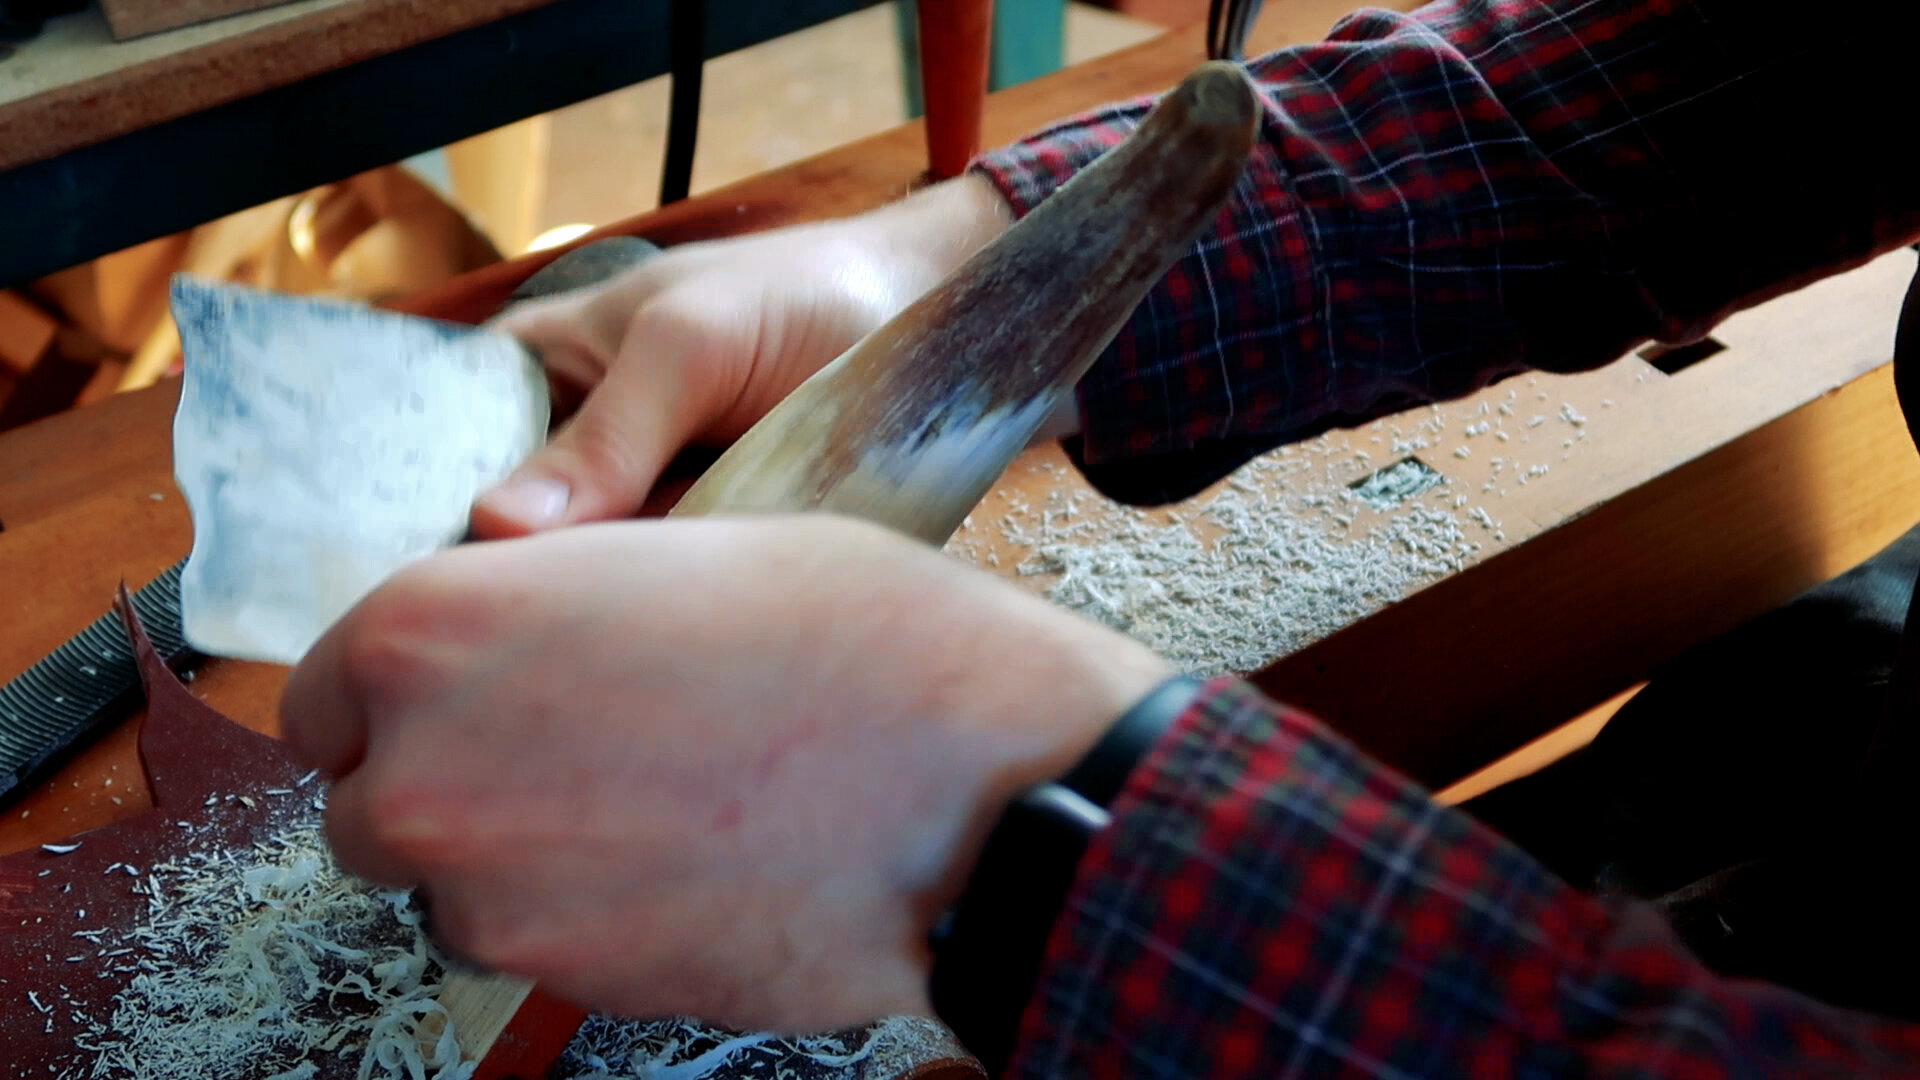
The horn I’m working on will be finished with the scraper, so at this stage I’m looking to remove any bumps, knicks, or scratches left by the file or rasp. You can see these imperfections after rubbing some dirt or pencil lead on the horn. When you are satisfied with the look of the scraping on the horn, we’re ready to move on.
Measuring the horn cavity
Using your flexible wire or coathanger, stick one end of the wire into the horn until it stops at the spout, press the wire against the outer curve of the horn and mark or hold the wire with your thumb at the base of the horn, marking the length of the cavity. Without letting go of the wire with your hand that is at the base of the horn, remove the wire and line up your thumb with the base of the horn and press the wire to the horn along the outside curve. Mark where the end of the wire is at the horn tip with your pencil. This tells us where the cavity stops inside the horn and helps us map out our spout.


To see this process on video, click here to navigate to the timestamped place in the video, 3:25.
You can put your wire away now and continue your line all the way around the horn with your pencil to make it easier to see. This line will be the base of our spout. Next, we will establish the top of the spout.

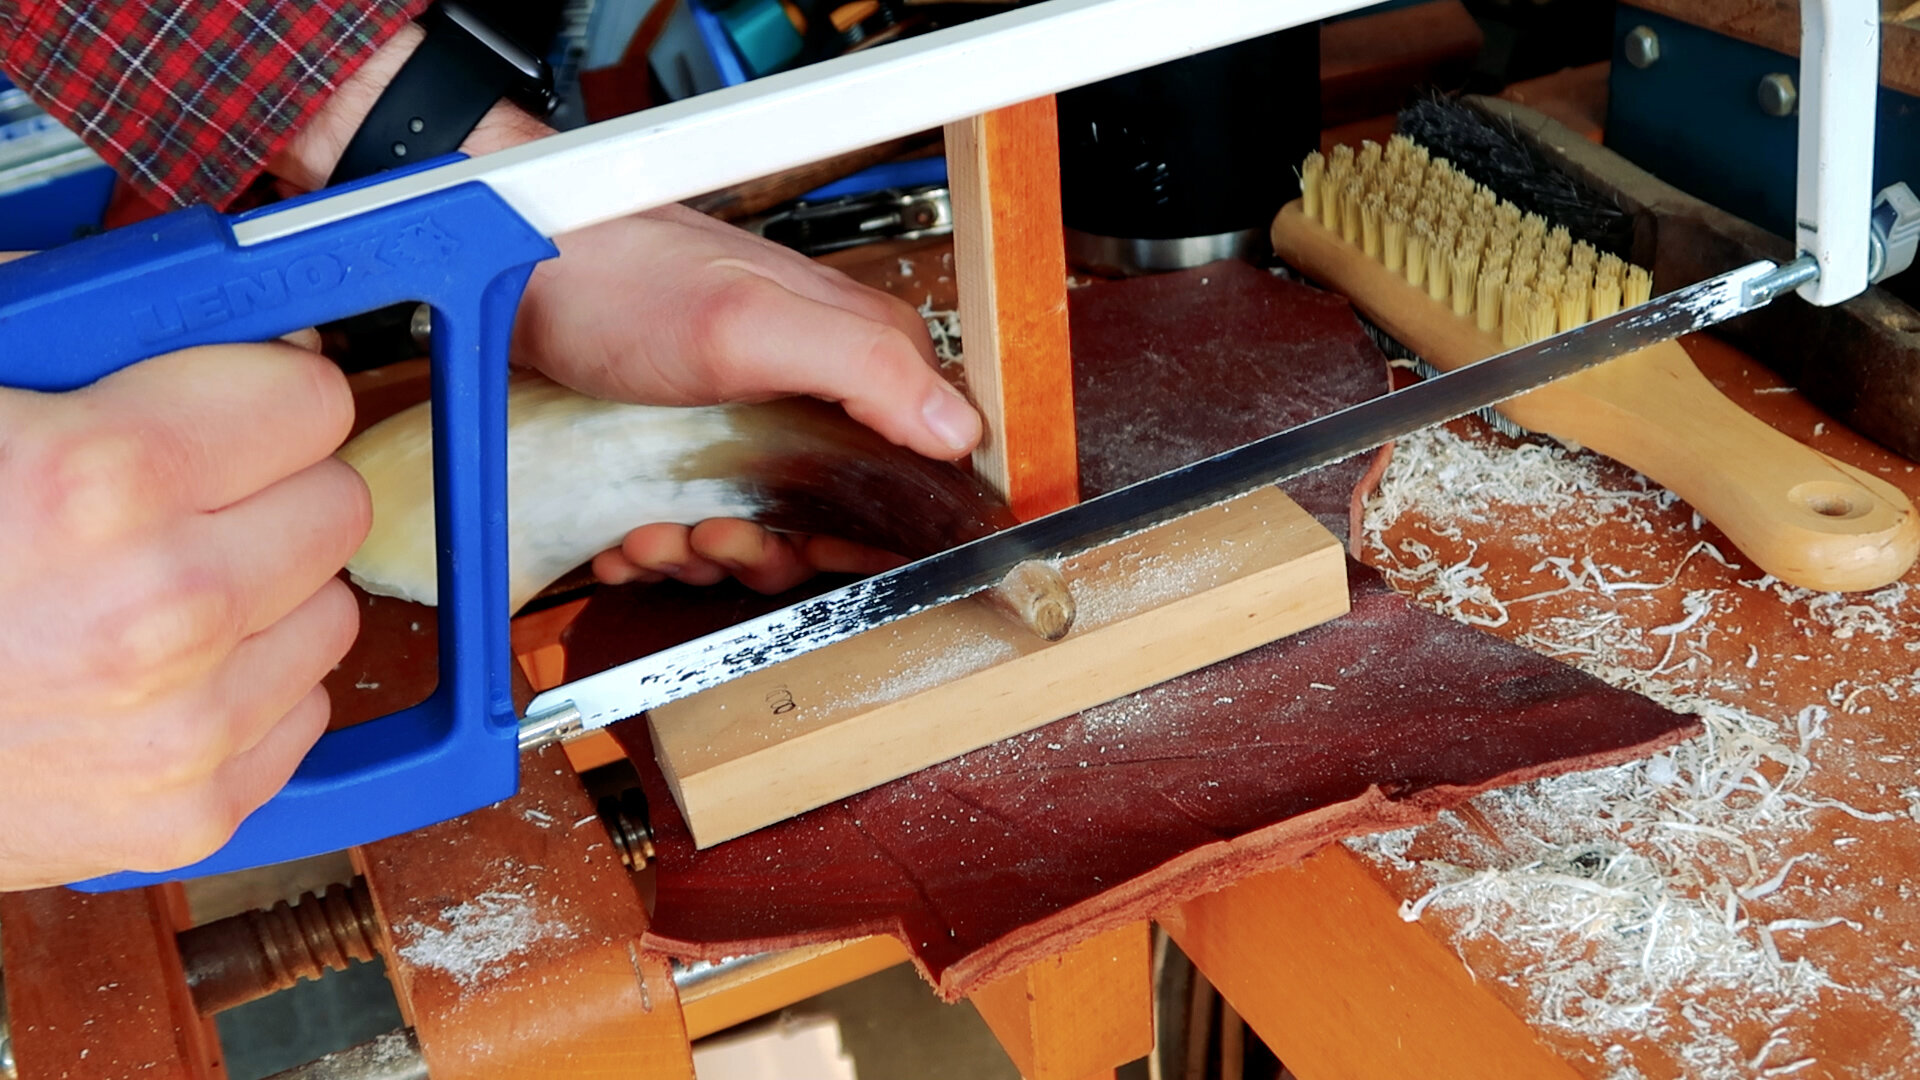
Because our drill is straight and the horn is curved, it can be difficult to drill through the grown tip of the horn. To get around this we will trim the end of the horn just enough to give us a straight shot into our cavity. (Timestamp 5:20 in the video) For my small horn, I trimmed off about ¾ of an inch using my hacksaw. Your horn might need more or less.

With your new tip established, mark the center of the tip roughly with a simple mark of your pencil. This will be our target for the drill. I found my horn was too hard to start drilling with the ¼” bit, so I made a center hole with my awl. You might find it easier to start your hole with a 1/16” drill bit before moving up to your ¼”. This starter hole will help your bit bite into the horn and not skip around.

Slowly drill through the horn tip, making sure you are inline with your cavity. As long as you go slowly, you won’t be able to run through the outside of the horn.
Now that our spout is done, it’s time to focus on the rear of the horn. My horn isn’t even on the end so I apply some painters tape to guide my bandsaw as I cut an even end around the horn.


There are multiple ways making a horn plug, but this is the simplest. We’re going to fit the plug to the horn, using our files and rasps. To do this, trace the butt of the horn onto your plug material.
Your plug material is up to you, but I’m using some curly walnut that is about ¾” thick. This gives me plenty of material for a good seal, and gives me space to shape the plug that is outside the horn.


Cut your plug out on a bandsaw, jewelers saw, or hacksaw. Your cuts don’t need to be perfect, we are going to refine the plug in the next step. Place your plug in your vice and begin working around the edge with your rasps and files until the plug goes into the horn leaving ⅛” outside the horn.

I found that a good fit is achieved by working the entire face of the plug as you go. When you get close, rub your pencil along the inside of the horn and then insert your plug. The pencil lead will act like inletting black and show you where you need to remove material.
At 13:09 in the video you can see out I set my plug. I’m using some JB Weld 5 minute epoxy, other horners recommend Titebond 3 wood glue to help get a good fit, but either will work. If your plug fits well enough, you don’t even need to add an adhesive. This being the second horn I have made, the plug is not perfect and the epoxy is needed.


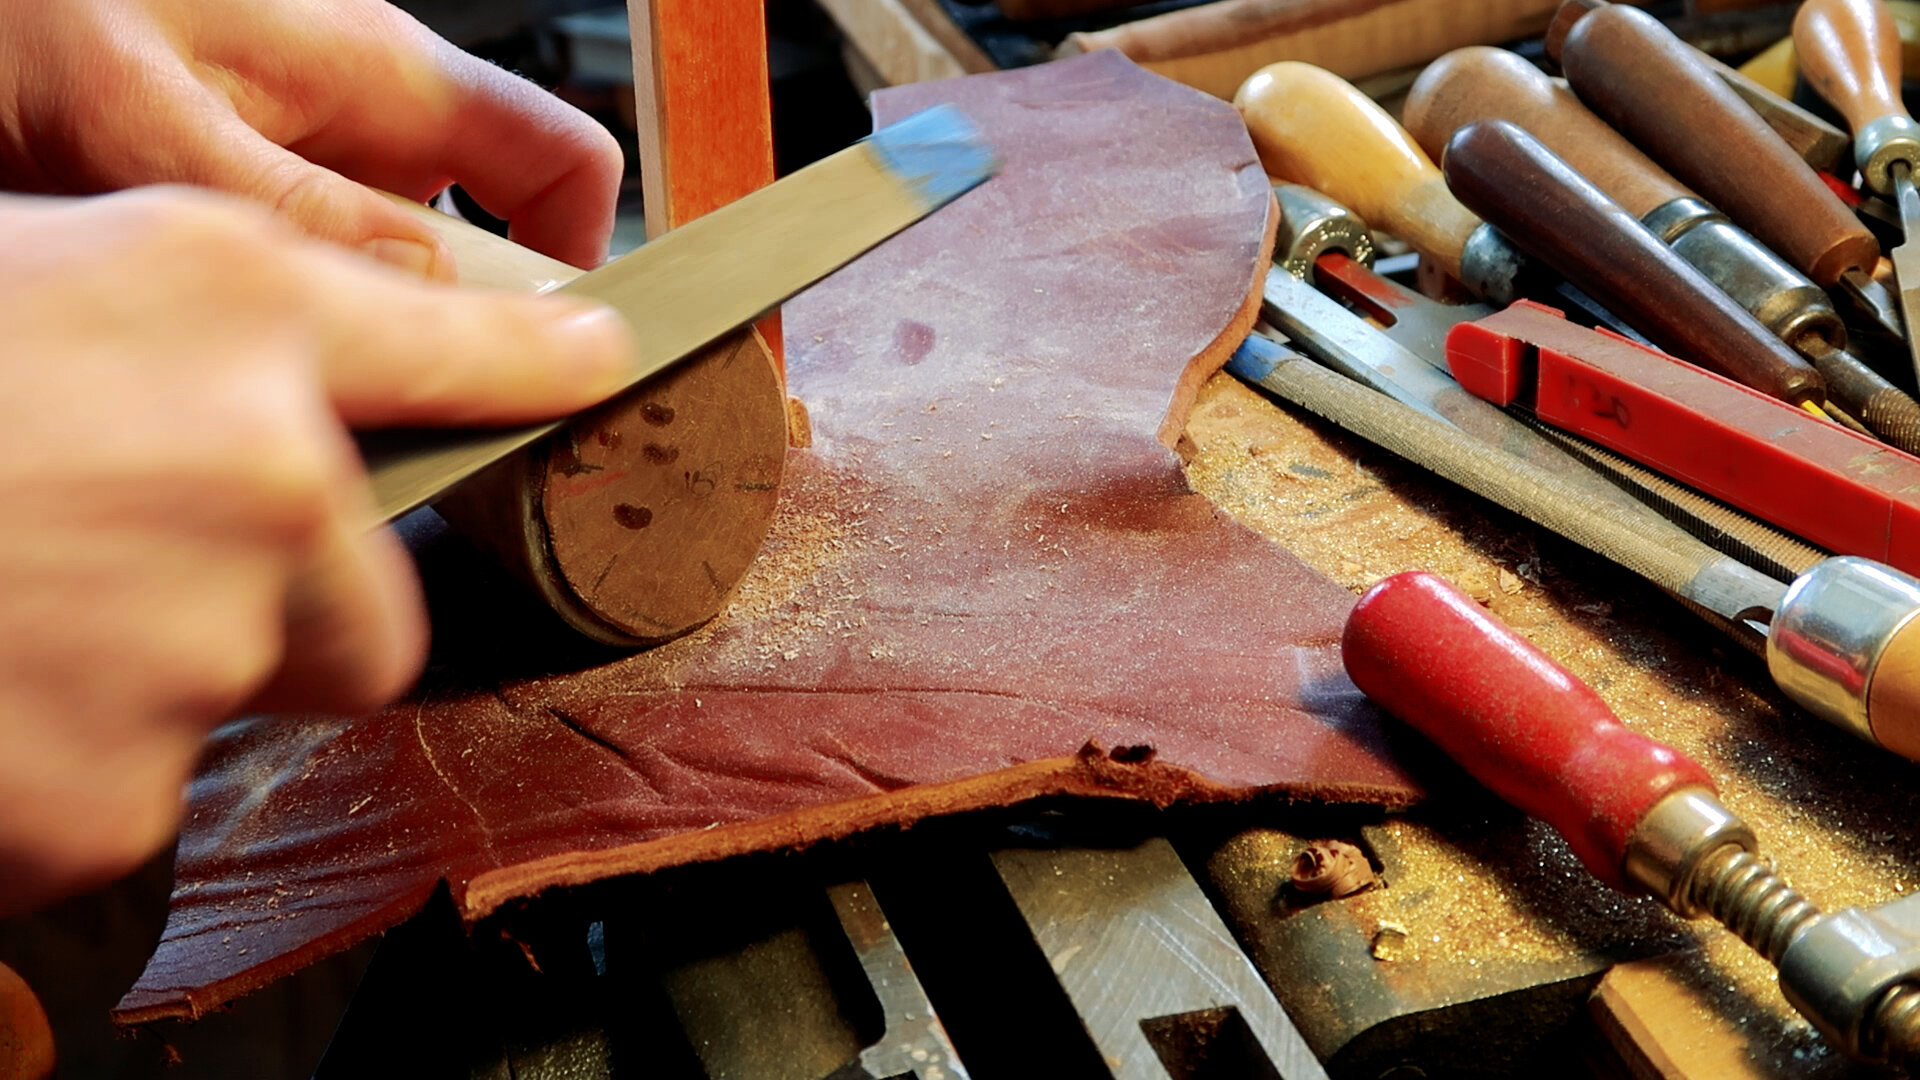
After adding the epoxy and seating the plug, I grabbed the horn in my vice and let it sit for a couple hours before moving onto shaping the plug. If you are in a hurry, I imagine you can do this quickly on a modern sander or grinder, but we’re going to do it the old fashioned way, with our files. I’m going for a domed plug on this horn, so I’m starting my file at the edge of the horn, and keeping it at the same angle as I go around the plug until the entire plug is domed, with the center of the plug being the highest point. Be careful as you do this, I recommend a fine file for this step because you lower your risk of running into the grain of the plug and causing a bad tear in the wood fiber.
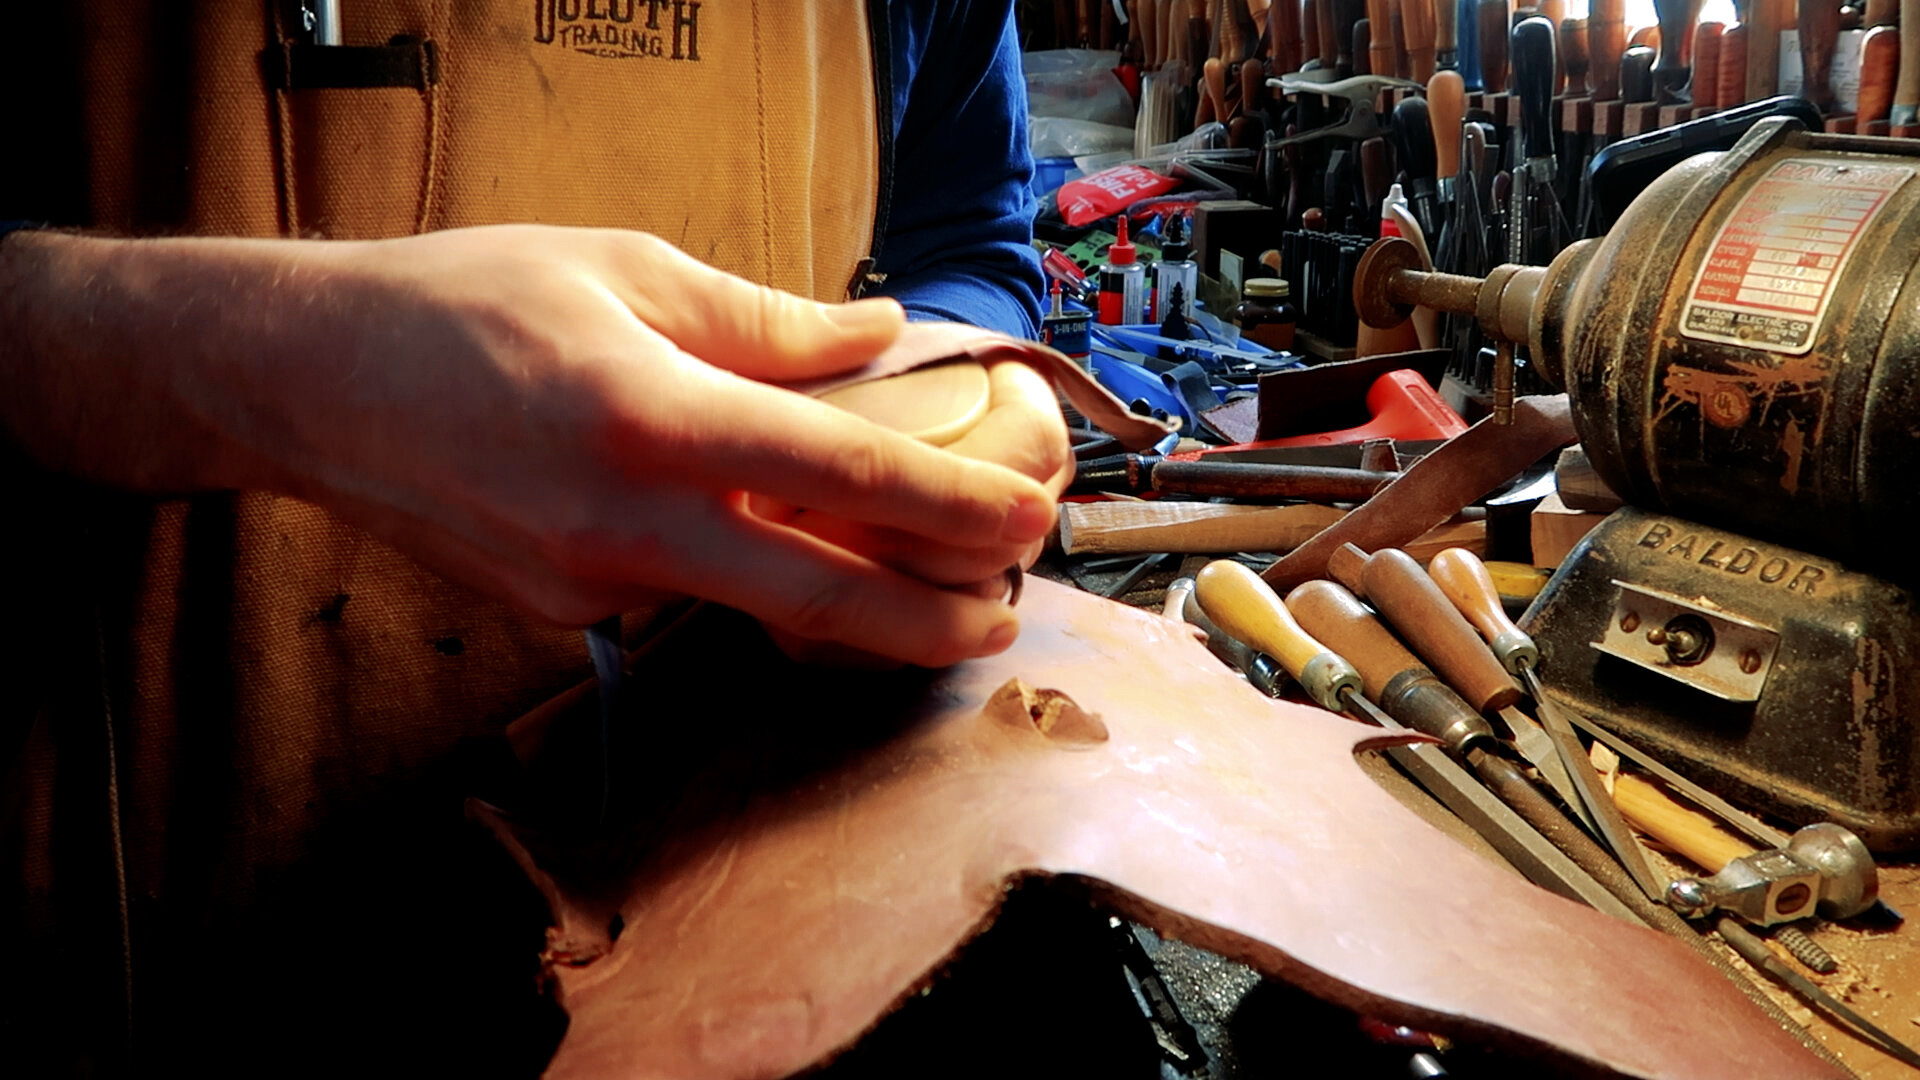
Finish off your plug by working your way up your sandpaper grits, I topped out at about 600 grit. You can check the finish of your plug by wetting the plug with water or oil. If you still see file marks, it is best to continue sanding and remove them. Files are very geometric, and their marks can be easily identified, making your horn look not as nice as it could.
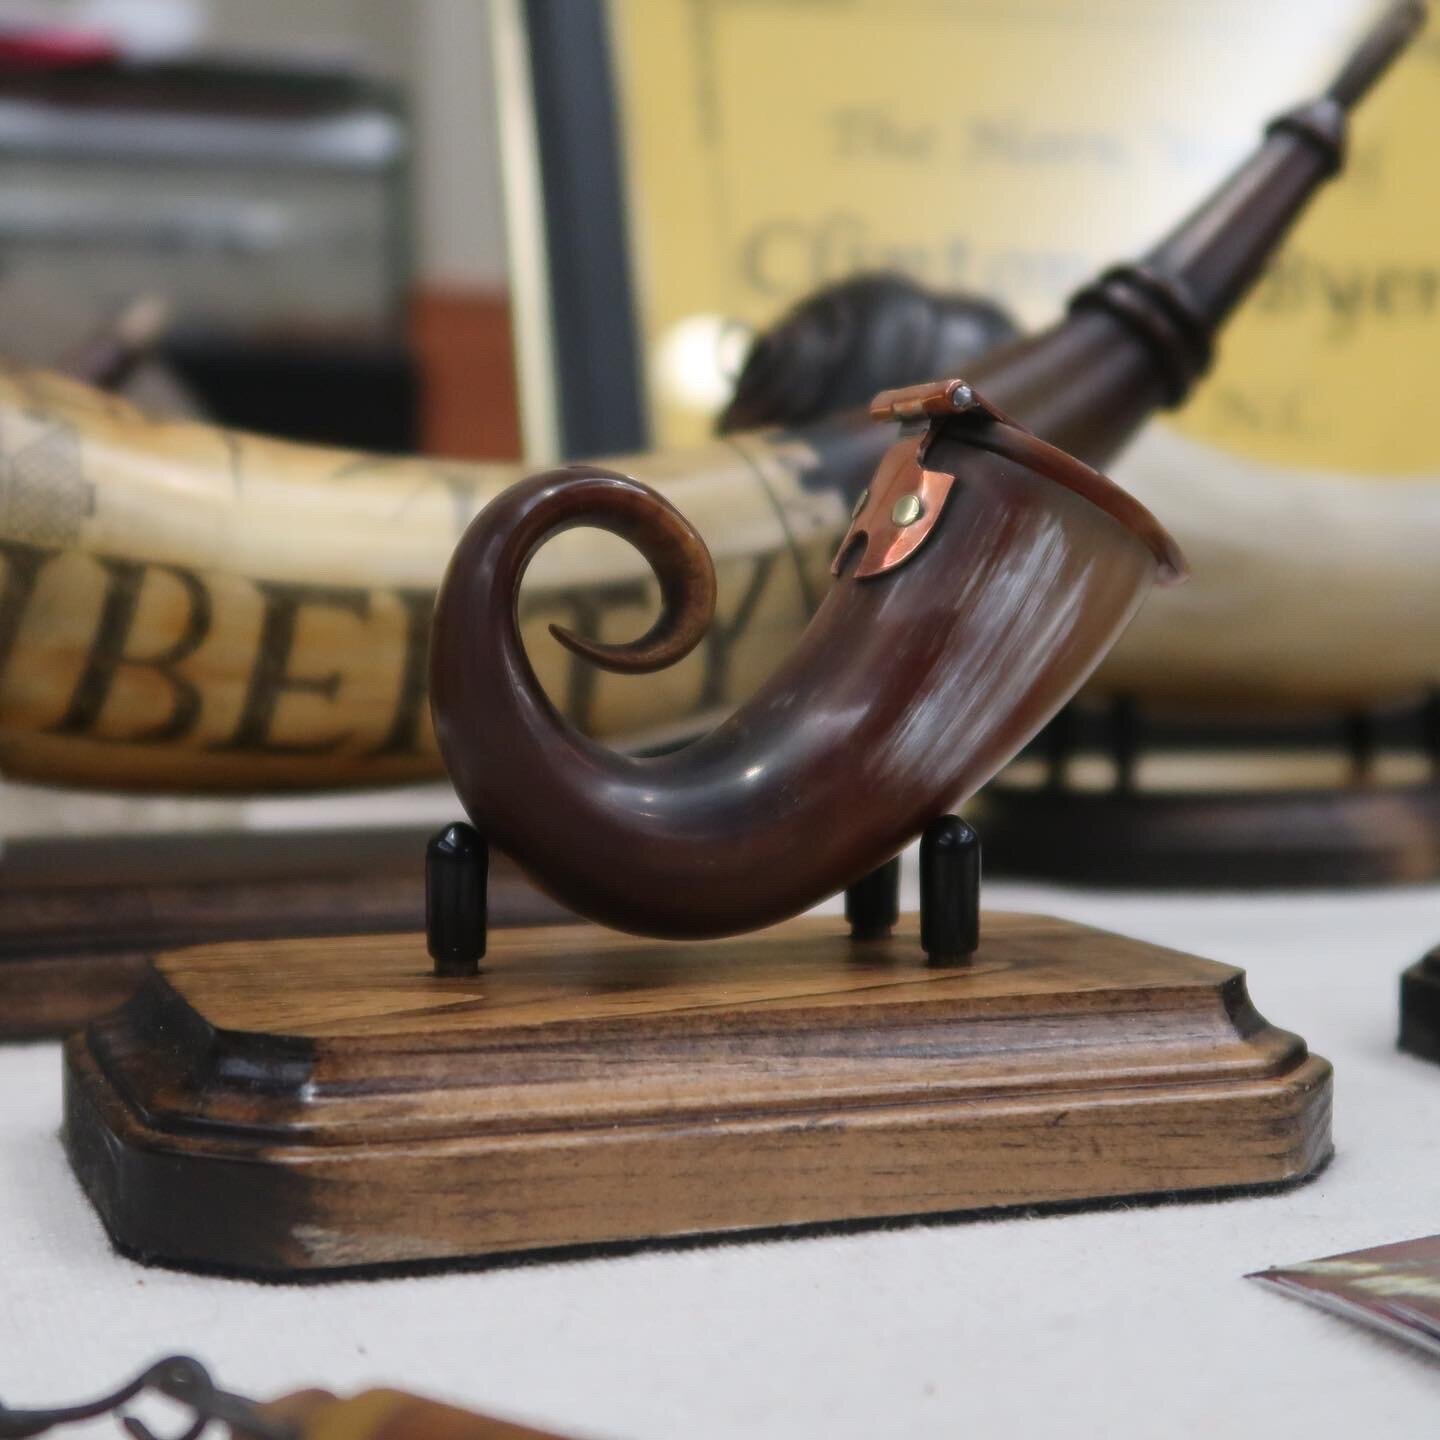
Now it’s time to finish up the shaping of our horn by adding a spout. My spout is inspired by later horns from the 1820s to 1840s. It is a simple spout, you might elect to have a fancier spout from the late 1700s, or early 1800s. Some spouts are turned, others are carved. It’s up to you, but I recommend doing some research first. Even if you aren’t looking to make a period correct horn, observing original horns will help guide your decisions.


Using my painter’s tape and hacksaw, I’ve established a ring around the spout of my horn, this will be where the horn changes from neck to spout. Using a file, I begin working down the neck of the horn until I’m happy with the shape. I do the same thing to the spout, tapering it to mimic the shape and flow of the main body of the horn.
In part 2 of this series, we will go over how to pin your plug, make a staple, and make a spout plug, see you then!
To get started we’re going to forge a small staple for our horn. This may seem complicated, but it’s a fun way to add another handmade element to your powder horn. I’m using a small forge made out of stacked firebrick and running off of a propane torch and tank.

If you don’t have a forge, don’t worry! You can form a staple like this by bending thin metal in a vice using a hammer and a heavy metal block as your anvil. You can also purchase a staple from many of the muzzleloading retailers out there. Check out NMLRA.org/advertisers to shop from our sponsors.


While my forge heats up, I’m going to layout my staple to get an idea of what I need to make before dealing with hot metal. To do this, I trace my horn onto my welding table. Then I draw the staple the shape and size I would like it. To bring the drawing into the 3D world with us, I bend some scrap wire around the drawing to give me a physical representation of the staple I want to forge. I’ll use this bent wire to check my forging and make sure my staple is the right size.
The metal I’m using comes as a round rod, so my hammering will focus on turning the round rod into a square rod. From there, I taper each of the ends of my formed metal to complete the forging. Depending on your skill, this can take 5 minutes or 30 minutes.

Remember, your forging doesn’t have to be perfect. I found it was good to get close enough and then file the staple sharp for a better fit.
Cut the staple blank from the rod and reheat for bending. I bent my staple around a set of flat tongs. This allowed me to hold the staple with one pair of tongs and bend it with another.

My completed staple was a bit uneven, but a few strokes of the hacksaw and I was back in business. Now is the time to clean up your staple as you see fit. You can also add decoration with your file.

Next we will drill the plug for the staple. Use your shaped staple to identify the correct drill bit for your plug. I found a bit that was the thickness of the bottom half of my staple. This way the staple fit halfway into the plug before I neede to apply pressure. I was happy with how this worked because it prevented any cracking or splitting of the plug. Being new, I applied a little epoxy to the holes, but I don’t think it was needed.

Use a small hammer or mallet to tap your staple in until it sticks out about ¼” from the plug. This gives you plenty of staple to work with when attaching the horn to a strap.

To pin my plug to the horn, I used a few “Tremont Cut Nails”. The Tremont Nail Company has been in business for 200 years here in the US and uses much of the same equipment as they did when they started. These nails are perfect for this horn’s era and will give us some nice variety.


I cut the nails in half to get the right length and set to pre-drilling some holes around the rim of the horn before seating the pins with a small hammer.

The last piece of our horn for this part of the project is a spout plug. As mentioned earlier, my base plug is made from curly walnut, and I’m making my spout plug to match. This piece of walnut has a nice bark inclusion as well that will add some visual interest to an otherwise utilitarian piece.

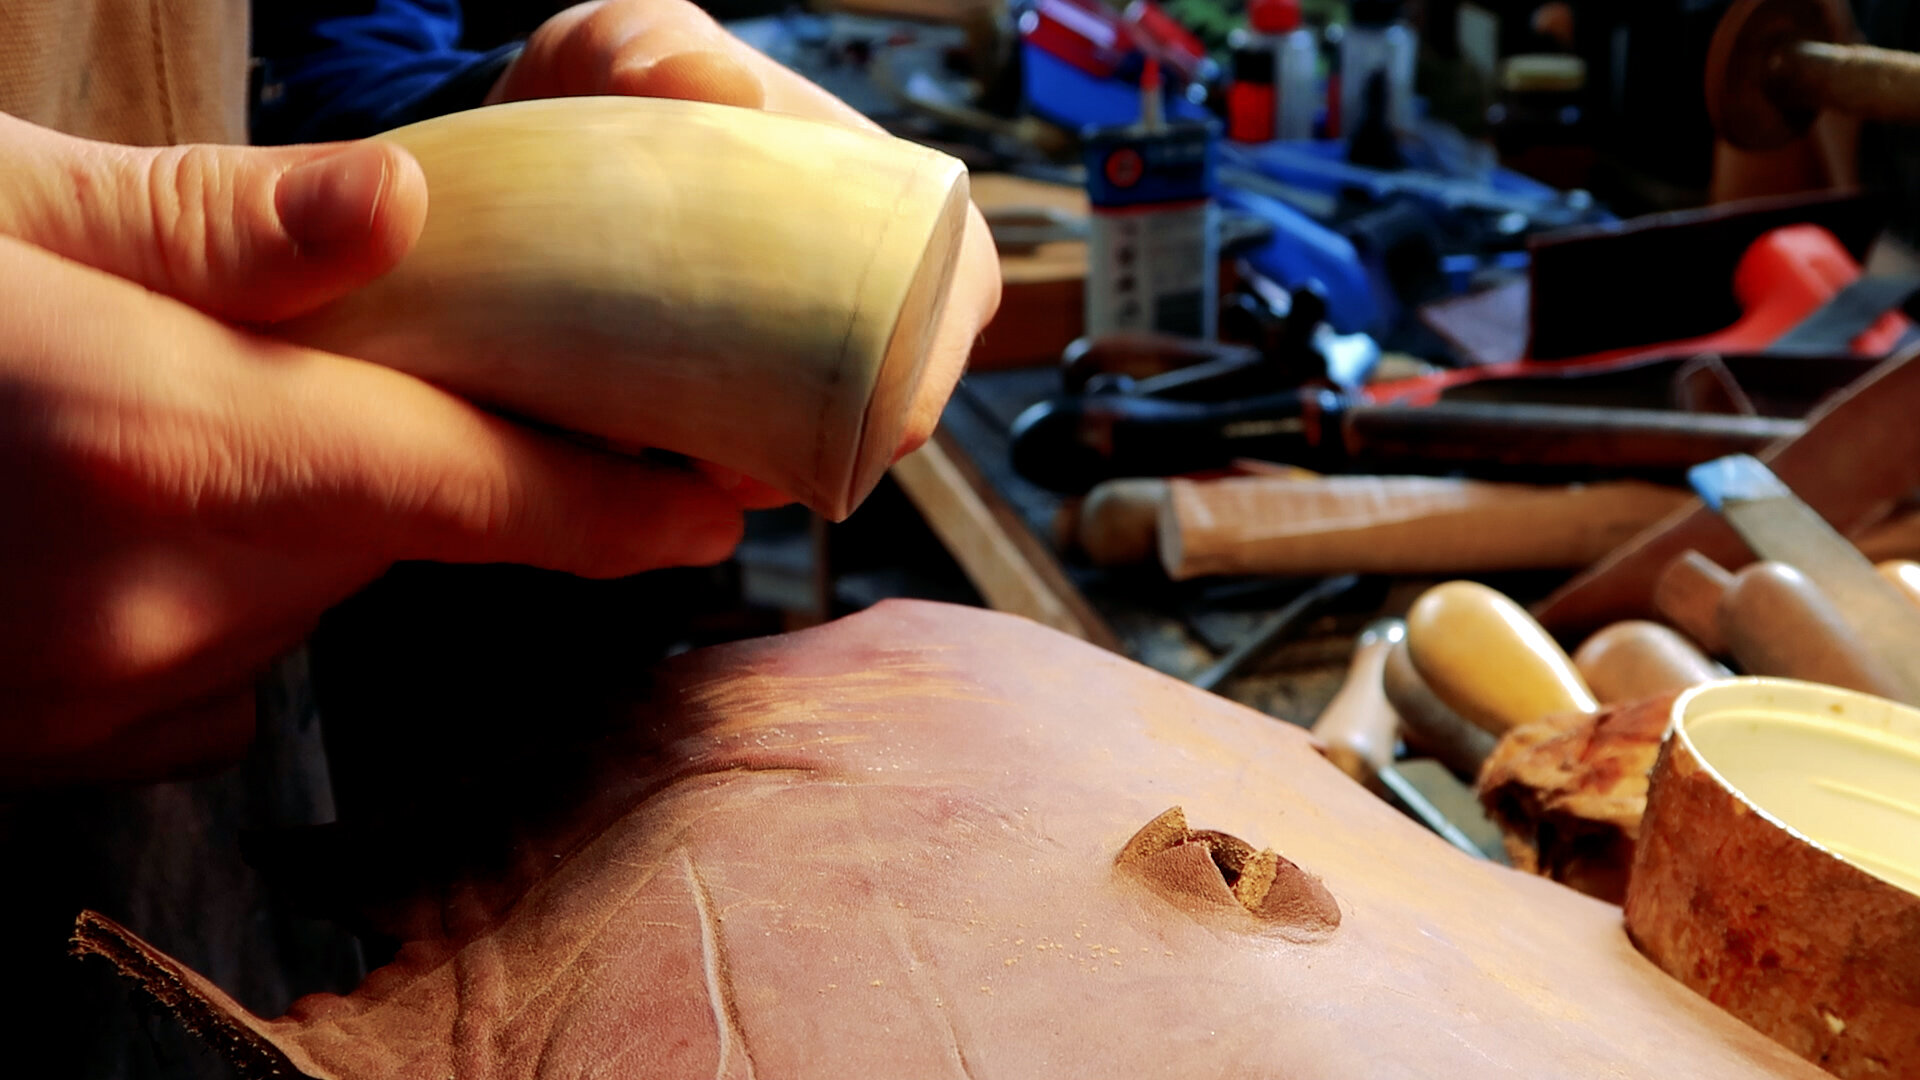
You can shape your plug however you like, but I recommend using a combination of files and carving knives to get the job done. As your work the part of the plug that will seat into the horn spout, make sure you are checking after a few cuts to make sure you aren’t removing too much.

With that completed, or horn is ready to go! We can fill it with powder and head out onto the frontier.


In future additions to this series, we will cover different ways to attach the horn to our possibles/hunting pouch as well as scrimshawing to add some artistic flair to our horn.