
This tutorial comes by way of Jeff’s facebook group “Traditional American Craftsmen”
I did the post on French edge binding, so here's another option to add a bit of detail to your bags or pouches. While pretty straightforward, there's a couple of little tricks that I've found work for me. As a rule, and depending on hide thickness, I find that 7/8" is about my standard for edge binding width when using thin goat or calf hide, so I simply ad the desired length of fringe to that width for fringed binding. In this case, I wanted about 3/8" of fringe, so I cut strips 1-1/4" wide. You'll want to leave that extra width on the front side of the piece being bound, ensuring that you have plenty of material to grab on the backside when punching your holes for stitching. Here are a few photos of a pouch I'm working on where I'll fringe bind the interior pocket, front panel, and top edge.
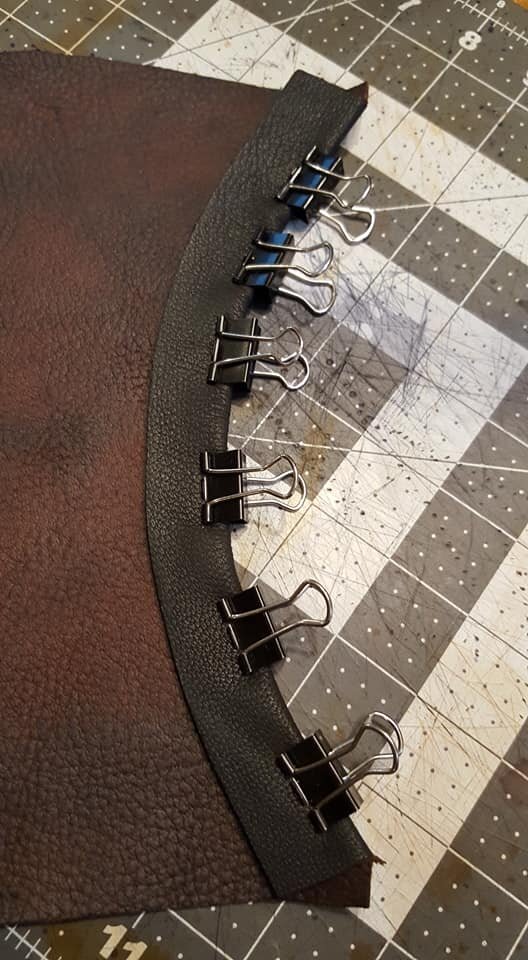
Here I've got the front panel binding, 2-3oz goat hide in this case, clamped in place on the front panel of the pouch.

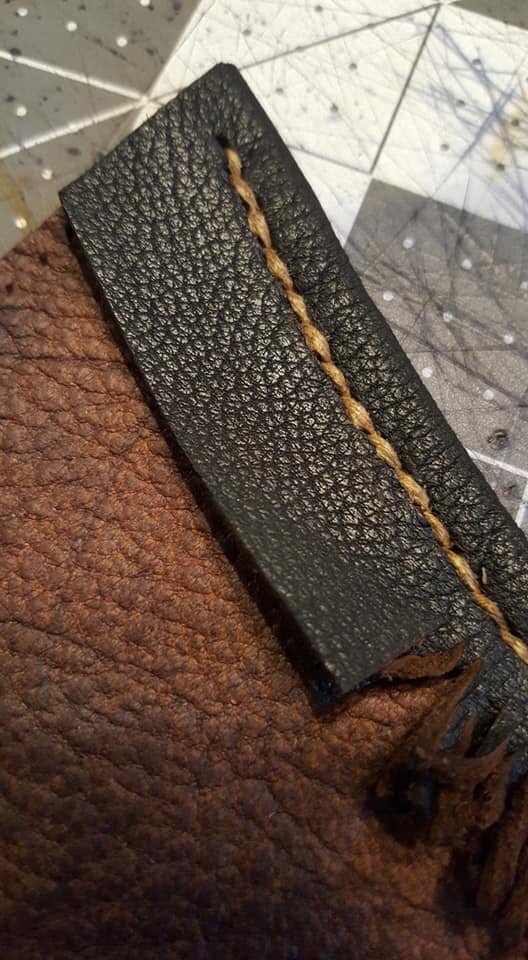
I had done the same on the pocket, and here's what the back side looks like after punching the holes and stitching. You'll notice roughly 3/8" less material was left on the back side compared to the front.
Here I've started cutting the individual fringe strands after stitching. I find very narrow strands to be more visually pleasing. Normally I shoot for less than 1/8" wide strands.
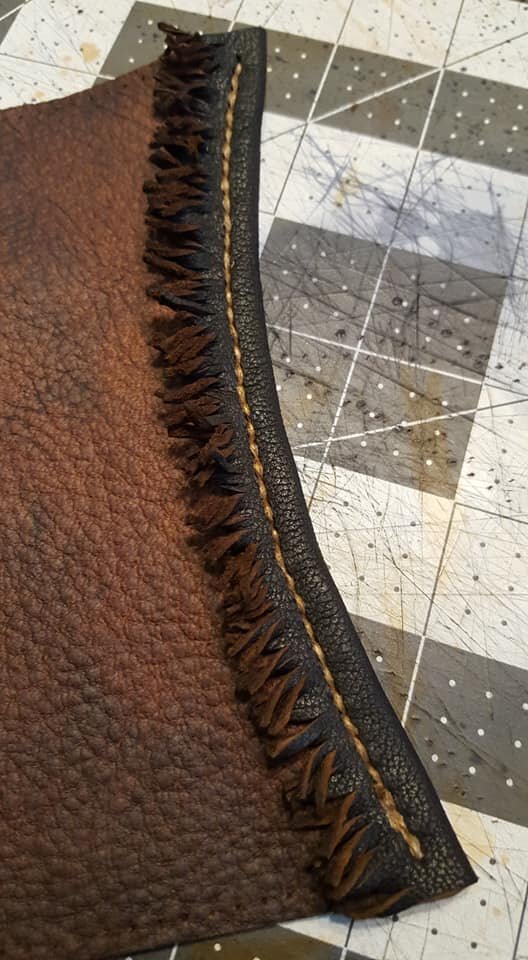
Here's the pocket abound and fringed. You’ll note I've twisted it up just because I hate seeing flat perfect fringe.
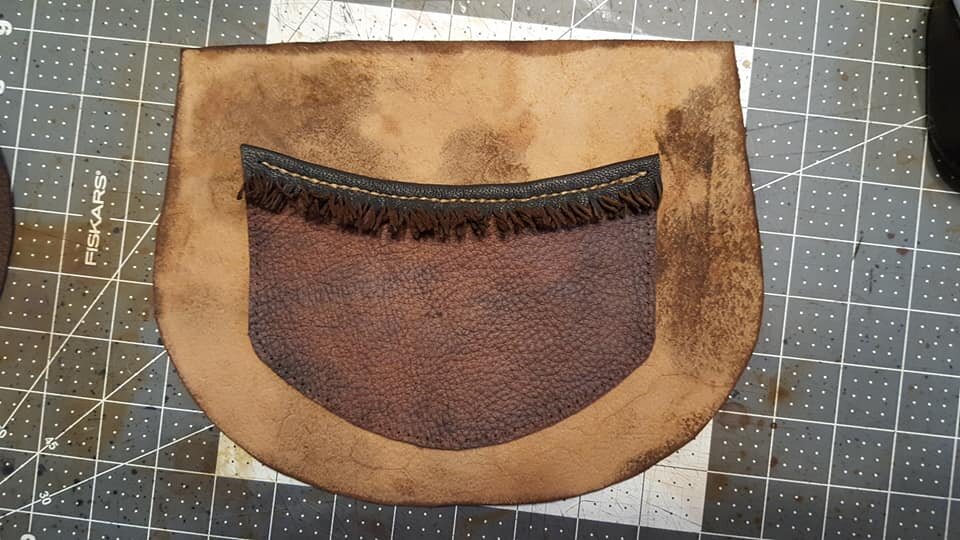
Here's what the pocket will look like on the back panel of the bag. One of those details that will likely go unnoticed by casual observers, but a detail that makes a statement in terms of ctaftsmanship perhaps.


![Virginia Shot Pouch Class with Jeff Luke [VIDEO]](https://images.squarespace-cdn.com/content/v1/5d2f0e173a371f00015138b8/1619015107676-I8KLGNCZWUFR59JJEOBM/DSC_9128.jpg)