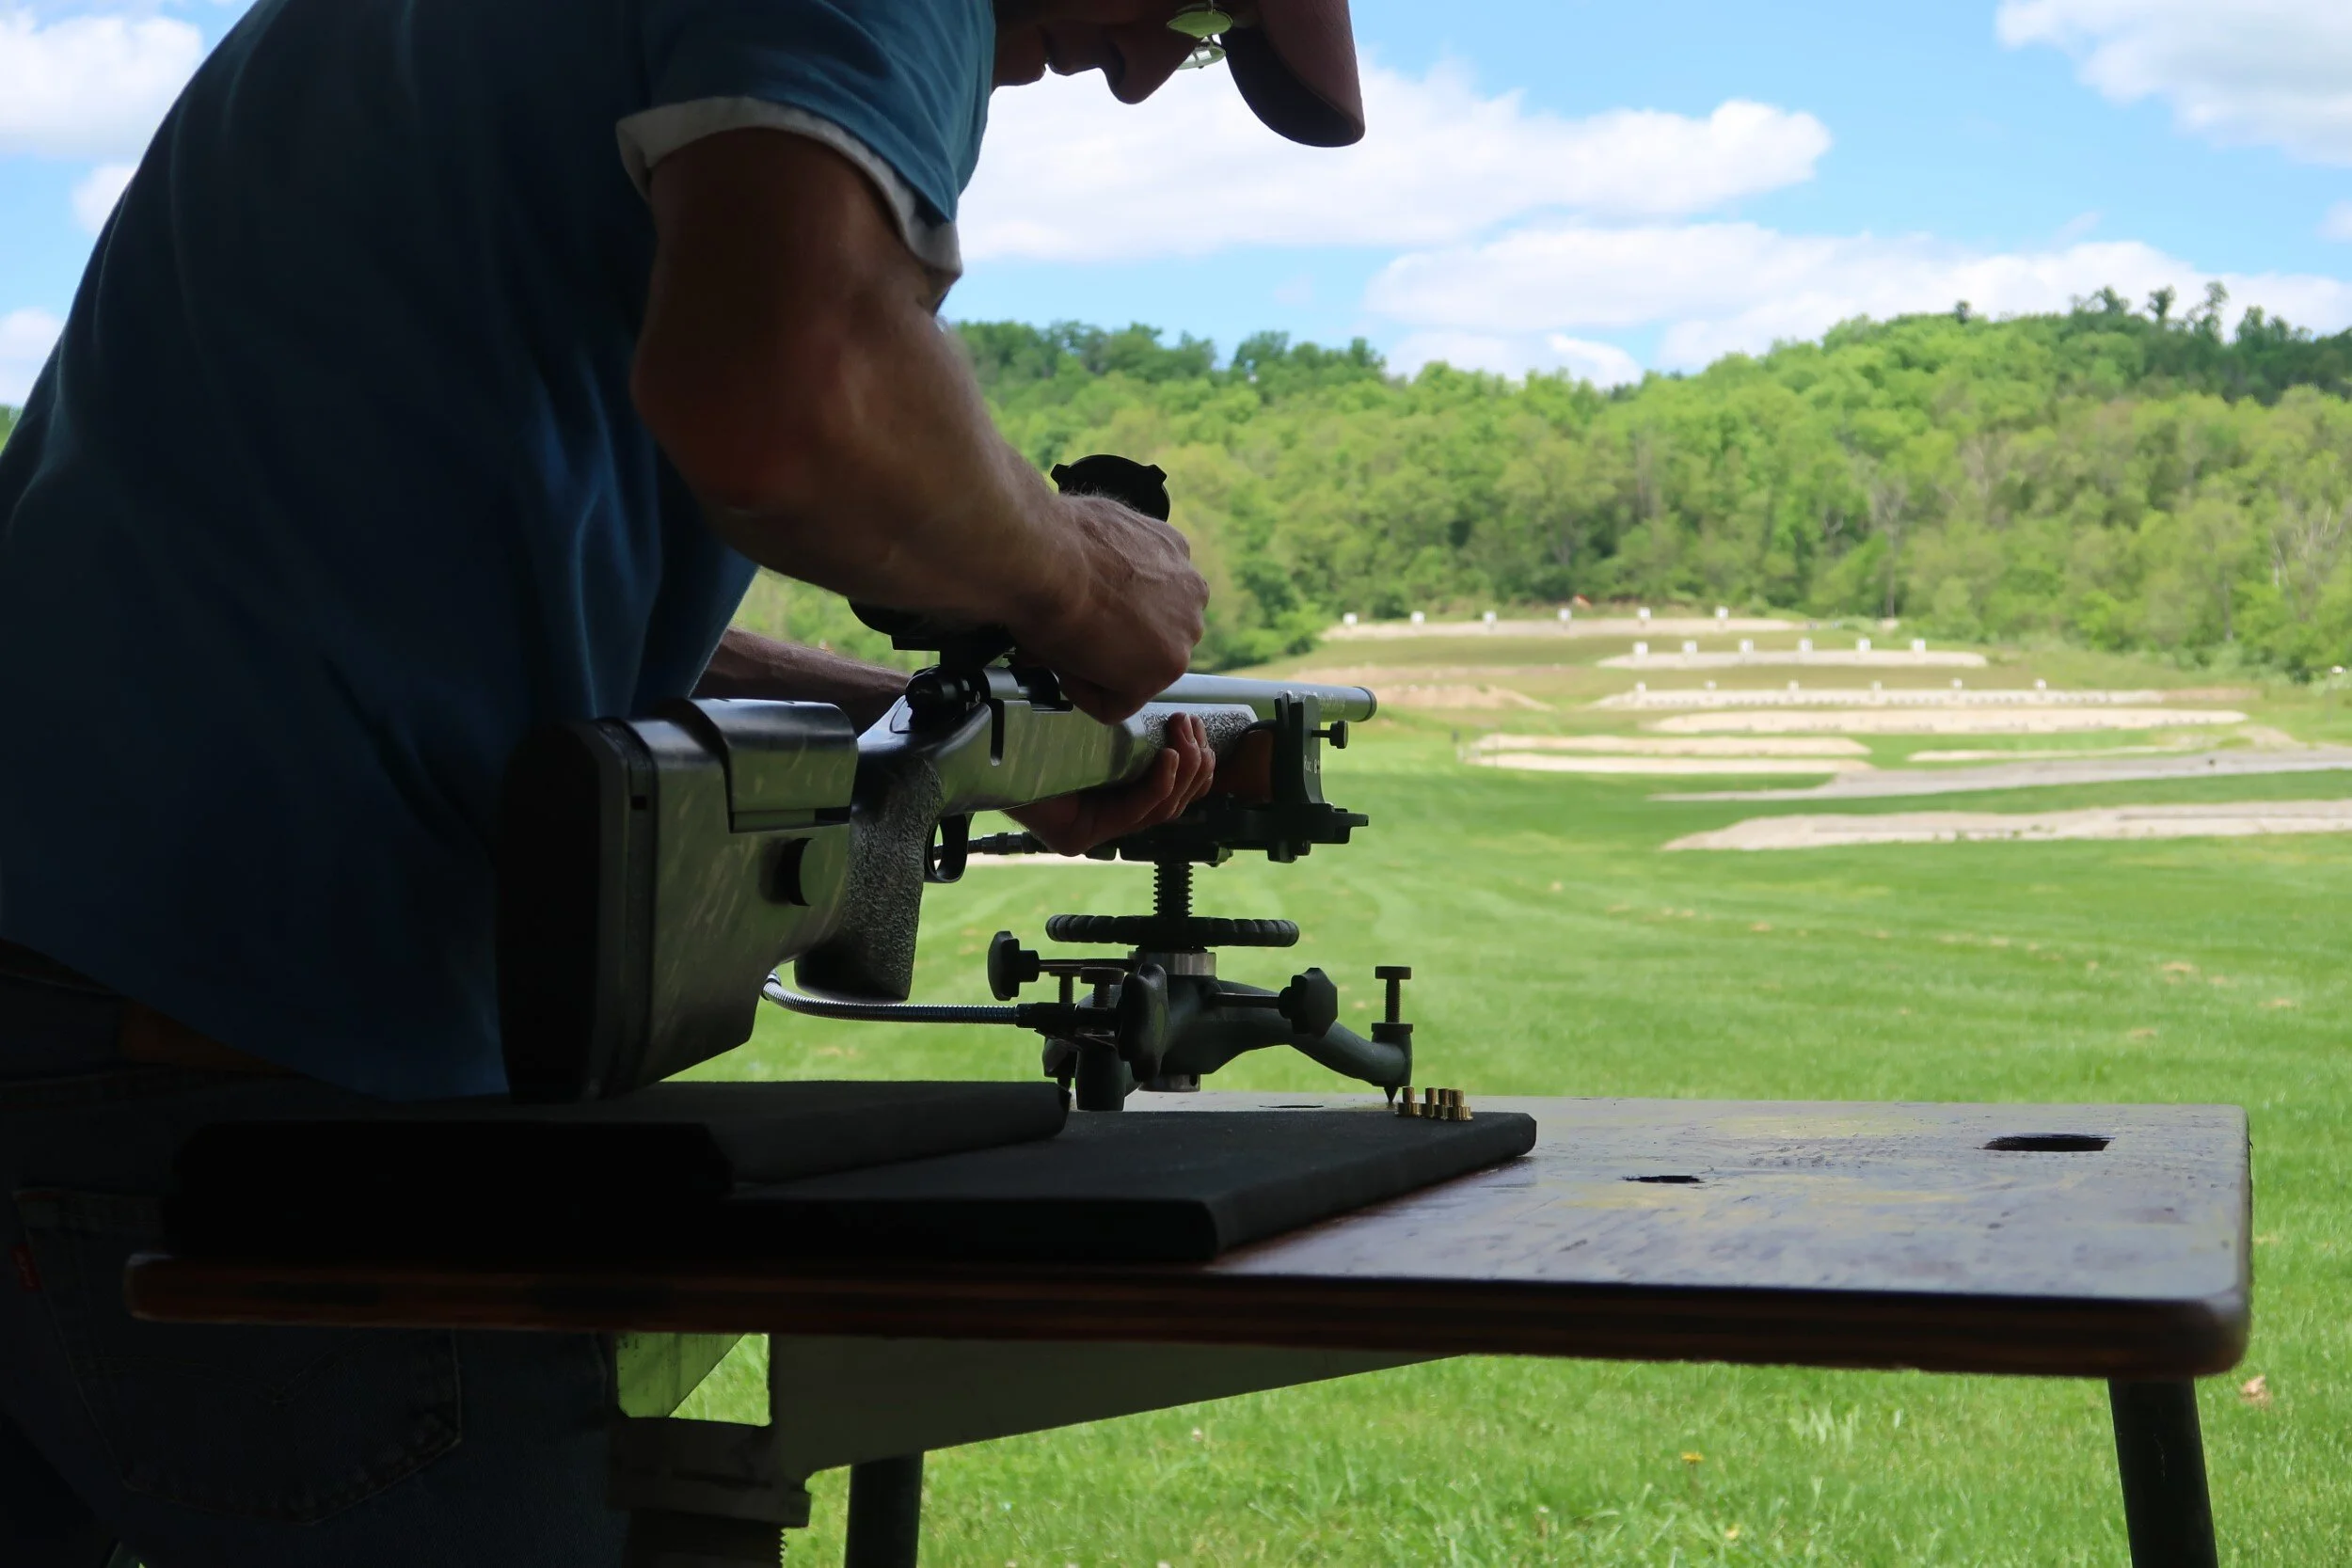
NMLRA Facebook group members help a new flintlock owner with tips on how to find the best load for his new 45 caliber flintlock.
what are some good commercially available range/tackle boxes that folks use on the firing line?
Questions and answers from Facebook
“What are some good commercially available range/tackle boxes that folks use on the firing line?”
-Barry Geipel
Here are some of the most informative comments from the post.
Nathan G - I grew up using a craftsman toolbox. Plenty of room in the bottom for powder and patches and the tray is good for all the small stuff.
Judy M - MTM makes a great muzzle loading box! Reasonable priced and holds all your gear.
Chris K - Plano tackle box.
Denny R - Judy’s got your answer MTM is a great company that is supported our national muzzleloading rifle Association for years And the box is designed for muzzleloading
Bob S - I use a metal tool box that belonged to my Uncle I've got some Walnut I've planned to make one with. Been sitting around about 10 years now.
Gregory P - Try Sycamore Stations https://sycamorestations.com/
If you’d like to join in on the conversation, head on over to our NMLRA Facebook Group! The group is open to anyone who is interested in Muzzleloaders and living history as long as they follow the rules.
Find out more about the NMLRA
What's your favorite inline for whitetail deer? What's your go to bullet and charge? | Ask the Experts
What size patches do I need for a 44 caliber revolver and .454 round balls ? | Ask the Experts
What is the best inline muzzle loader for under $500? | Ask the Experts
What type of propellant would you use with the CVA electra for things 150 yards and closer?
What thread should I use for different leather projects? | Ask the Experts
Frank House on Making a Chasing Hammer
Frank House originally shared this post on the CLA facebook page
Alright Engravers,
Time to think about chasing hammers!
The idea here is to use a very light hammer (mine weighs in at 2.9 oz) with a thin flexible handle as the lighter and faster taps will not only yield a finer and more consistent cut, your gravers will hold out far longer with less breakage of your tip. (More on that later)
To get started, I use machinable brass
and have posted at least one source for 1" stock (photo)
Machine the head to the dimensions provided in the drawing and bore a 3/8" (.375) eye for the handle and then, using a tapered reamer relieve the eye slightly from both the top and bottom so that the handle will "swage" itself into place with a wooden wedge.
The handle dimensions are 1" diameter at the butt or grip end, .300" at the neck or smallest portion and
.400" at the portion that goes through the eye with a slight taper to .375" or 3/8".
I have as well listed a chasing hammer along with the contact info (photo) from Rio Grande that will suffice.
Next up, shaping the graver and sharpening!
Upwards and onwards!
Techniques for Clean Inletting with no gaps | Ask the Experts
What sized drill bit do you use to make a 45 cal loading block | Ask the Experts
Best way to remove case coloring on a lock plate? | Ask the Experts
Recipes for DIY Muzzleloader Lubricant for Cap and Ball revolvers | Ask the Experts
Does black powder corrode stainless steel?
How do you measure your flint size and can you cut them if too big. | Ask the Experts
What is the best load for a Lyman Great Plains Flintlock in 54 Cal, 1:60 Twist | Ask the Experts
Frank House on executing Engraved Script
Frank House originally shared this post on the CLA facebook page
Alright Engravers,
Time to take a big next step in grasping the concept of executing script engraving.....
First of all, it's important to understand the concept of shading... this where the Art of engraving comes to the fore.
Executed deftly, the work has that wonderful, yet subtle "Pop" that even great calligraphy can't quite match.
This next exercise is learning to draw your characters as if you would engrave them.... in other words, refine your script as if it is finished, shaded and detailed.
Script is basically cut from two directions, up-cuts and down-cuts, taking advantage of ones natural ergonomic abilities. Simply stated, it's far easier to control your cuts if executed on a outside arc than one on a inside arc, therefore the work is accomplished from two directions(photos).
The graver is started vertical and rolled away to the outside of the cuts as one proceeds, rolling the graver both back vertically and out to finish the cut, accomplishing the shading on curved cuts.
Vertical cuts are somewhat simpler.
Gradually allow the graver to consistently cut deeper until the finished depth and result are achieved.
The exercise here is to draw and lay-out your design as if you were engraving it. Incorporate the shading, incorporate the up and down cuts as you lay your work drastically speeds the process and helps one to grasp the concept.
I'm certain folks will have questions, I'll do my best....
Stay with me, we'll get there.
Upwards and onwards!


